Steps (see „Description" for definition):
| 1. | tar xvzf cups-1.1.14-source.tar.gz
|
| 2. | cd cups-1.1.14
|
| 3. | ./configure
|
| 4. | make
|
| 5. | su – root
|
| 6. | make install (you need to be root to install the binaries)
|
| 7. | /etc/init.d/cups start
|
Description:
| 1. | Extract the source
|
| 2. | No Comment
|
| 3. | Prepare the source for compilation (you might need to specify options here)
|
| 4. | Compile
|
| 5. | Switch user to root
|
| 6. | Install the binaries
|
| 7. | Start the CUPS daemon
|
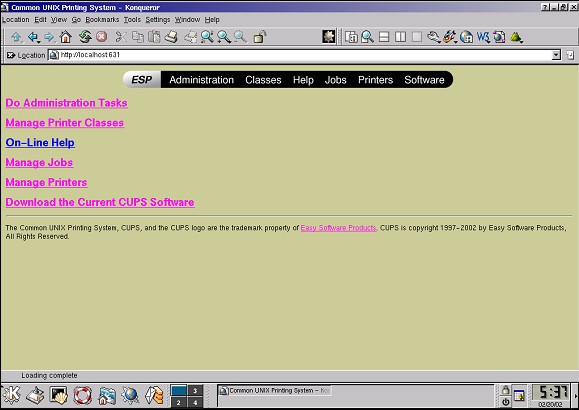
After that CUPS should be installed and running. Since CUPS uses the IPP (Internet Printing Protocol) we can verify this by opening up a browser and typing http://localhost:631/. You should then see something like this:
which should make you quite happy. If not read on, there is more too see. Now click on Manage Printers to add a printer to CUPS. You will see an empty screen like this one:
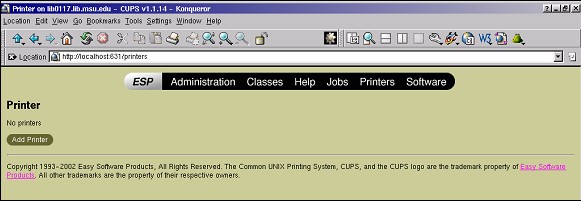
We will now click on Add Printer to actually add a printer to CUPS, the whole idea behind this procedure.